
Sony 16-35mm f/2.8 GM II review: sharp to the corners, with 22-point sunstars
- Place: Lofoten, Norway
- Lens: Sony 16-35 f2.8 GM II
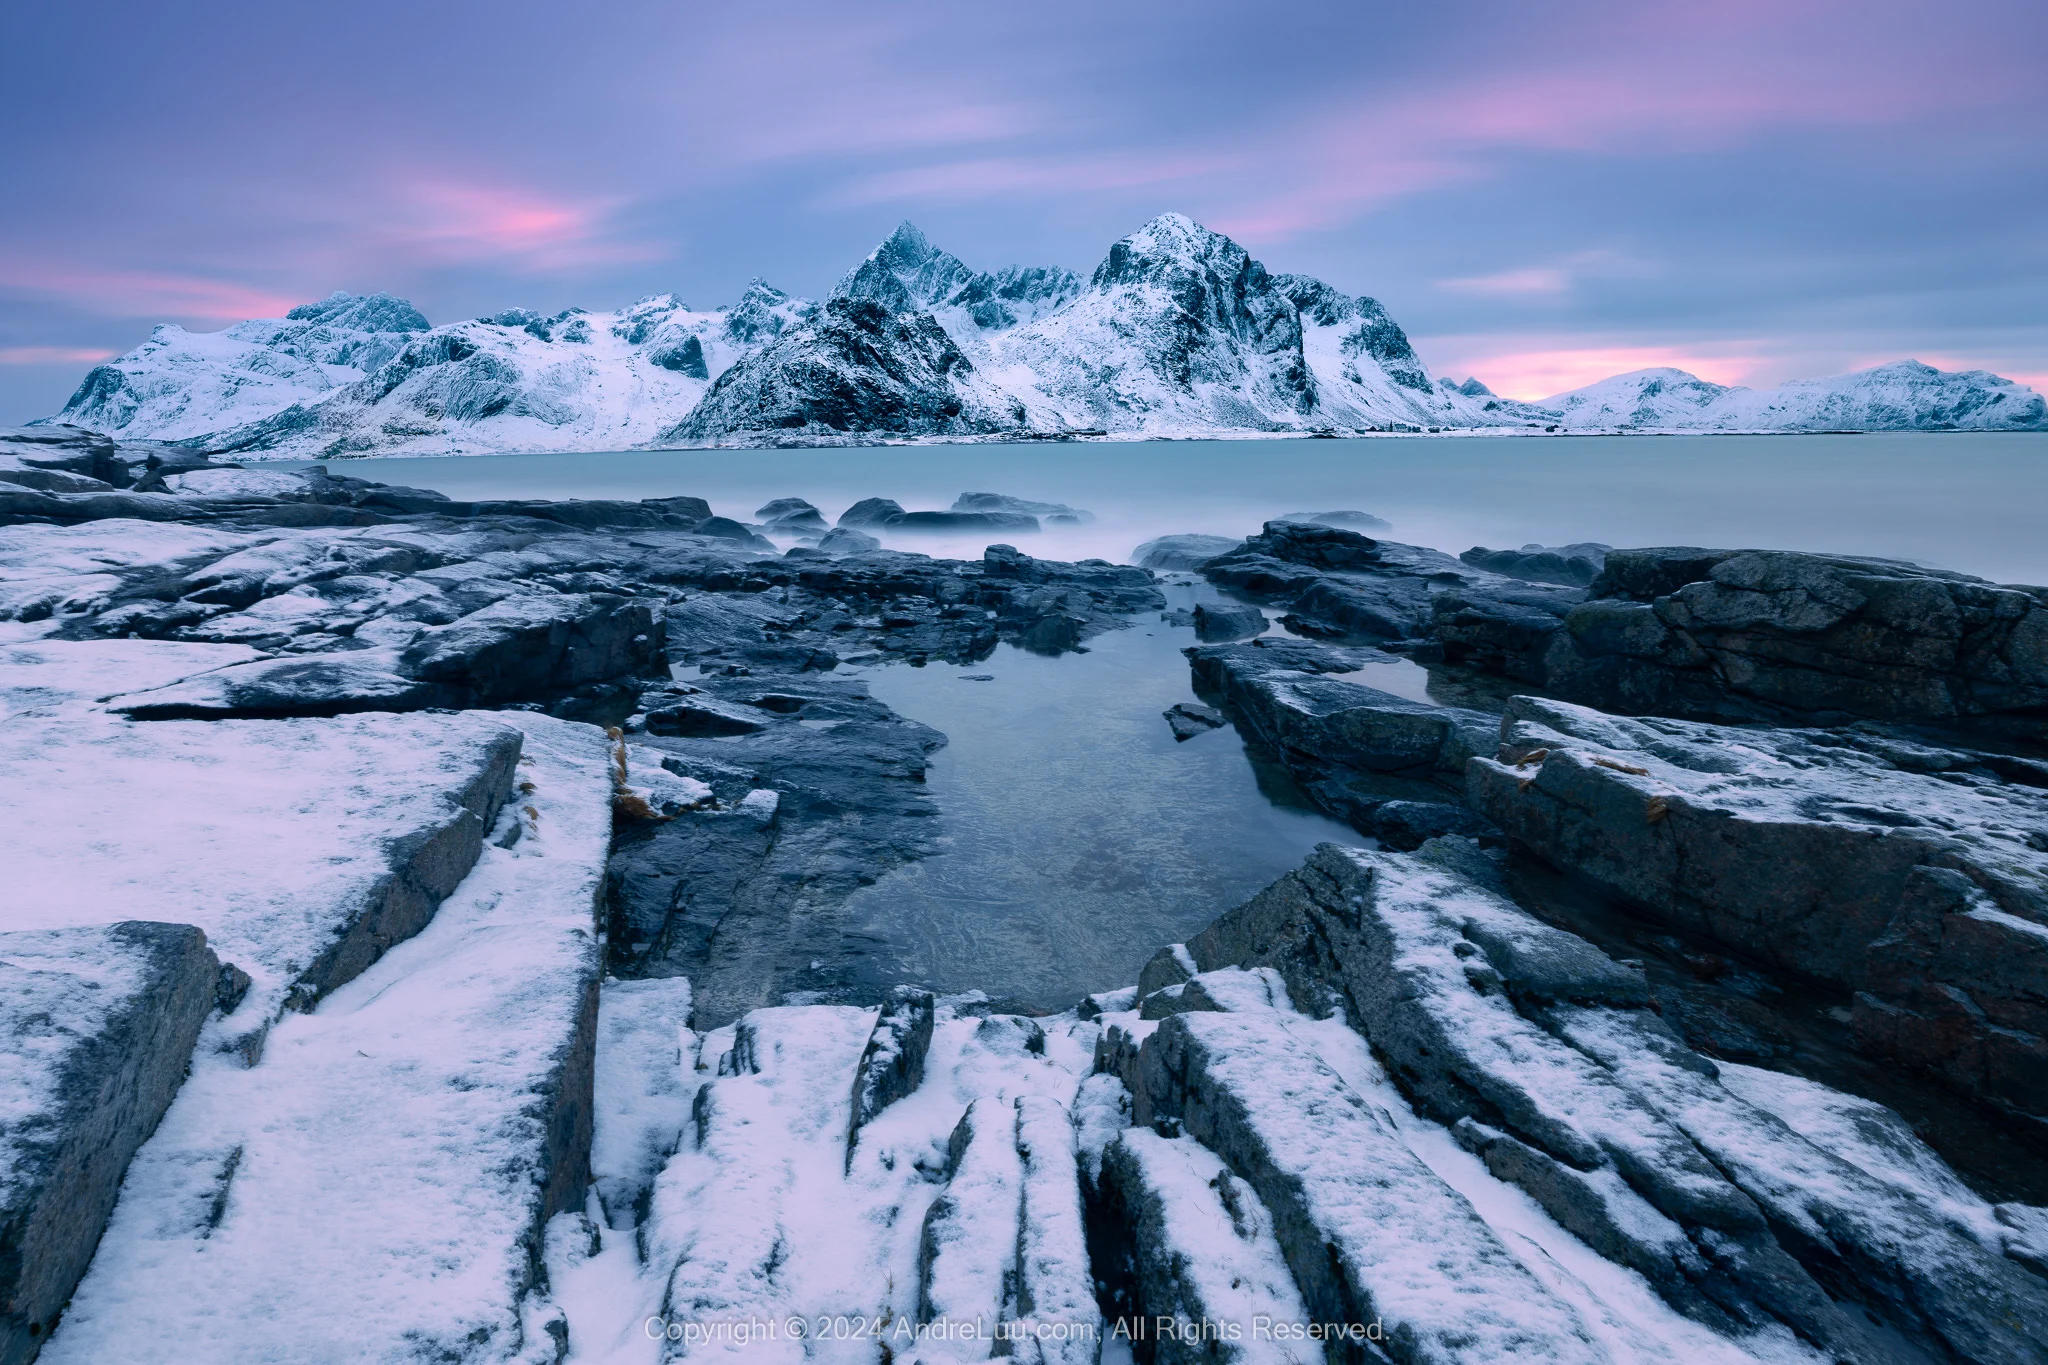
The Sony FE 16-35mm F2.8 GM II has become one of my favourite lenses. It is sharp from the centre to the corners, makes a beautiful 22-point sunstar with only a few small flare spots, and is smaller and lighter than the first GM. It suits you if you shoot seascapes and lakes with a strong foreground, the Milky Way, or star trails, and want a compact kit for travel.
What’s new in the GM II
The Sony FE 16-35mm F2.8 GM II (SEL1635GM2) is a full-frame ultra-wide zoom from Sony’s second-generation GM line. It improves on the first GM in two main ways:
- Second-generation nanocoatings: they cut flare, which gives a gorgeous sunstar.
- Smaller and lighter: 1 cm shorter and 130 grams lighter.
Paired with the A7C II (or A7C R) and other GM II lenses, it makes a compact, lightweight kit that is perfect for moving around and travelling.
Tested in the field, not on a chart
Instead of charts and measurements, I’ll show you real photographs. They reveal the lens qualities and the final artistic results from this combination: the Sony A7C II and the Sony 16-35mm f2.8 GM II.
Conditions on my trips to Lofoten, Norway, and Hokkaido, Japan, were tough: temperatures as low as -15°C and winds up to 30 km/h at different times. The camera performed faultlessly.
Who the 16-35mm range suits
- 16 to 35mm: a versatile range for landscapes with a foreground, especially seascapes and lakes.
- f/2.8 maximum aperture: covers low-light indoor scenes and astrophotography, such as the Milky Way and star trails.

Specifications: GM II vs GM
Prices are the Vietnamese MSRP at the time of writing.
| USEFUL SPECIFICATIONS | Sony 16‑35 GM II | Sony 16‑35 GM | |
| MSRP | 55,490,000 VND | 53,990,000 VND | |
| Focal Range | 16 to 35mm | 16 to 35mm | |
| Maximum Aperture | f/2.8 | f/2.8 | |
| Lens Mount | Sony E | Sony E | |
| Format Coverage | Full-Frame | Full-Frame | |
| Motor Drive | 4 XD, 2x faster | 2 DDSSM | |
| Minimum focus Distance | 22.1 cm, closer | 28 cm | |
| Maximum Magnification Ratio | 0.32x, bigger | 0.19x | |
| Aperture Blades | 11, rounded | 11, rounded | |
| MF method | Linear Response, faster | By wire, slower | |
| Optical Design | 15 elements in 12 groupz | 16 elements in 13 groups | |
| Aspherical / Extreme Aspherical | 2 Asph/3 XA, better corrections | 3 Asph/2 XA | |
| Nanocoating | Gen II, less flare | Gen I | |
| Dust & Moisture Resistant | Yes | Yes | |
| Filter size | 82 mm | 82 mm | |
| Dimension (ø x Length) | 87.8 x 111.5 mm, smaller | 88.5 x 121.6 mm | |
| Weight/td> | 547 g, lighter | 680 g | |

What I did not edit in these photos
I shot every photo in this review in RAW on the Sony A7C II and decoded it in Adobe Lightroom. Sharpening was set to the standard for 33MP:
- Amount 70
- Radius 0.8
- Detail 70
- Masking 0
Then I edited the photos in Photoshop with Luminosity Masks for the final artistic effect. I left these untouched:
- Distortion
- Vignetting
- Flare
- Chromatic aberration (CA)
How I choose a landscape lens, in order of priority
Lens technology has moved a long way since the 1990s. Flagship lenses from the major makers now have much less chromatic aberration and much sharper corners. So my criteria have changed. Here they are, most important first:
- Sunstar and flare: a sunstar makes a landscape photo unique and special. Lenses that create beautiful, clean sunstars are rare.
- Distortion: wide zooms almost always show distortion. The less there is, the more natural the image looks. You can correct it in post-processing, but that stretches or squeezes the image and reduces its original sharpness.
- Sharpness to the corners: even sharpness from the centre to the corners is very hard to achieve.
- Vignetting: the darker shading in the four corners compared with the centre.
- Chromatic aberration: also called colour fringing, most visible at high-contrast edges.
- Autofocus: I focus manually for landscapes and use AF only now and then for wildlife in Hokkaido. So AF comes last.
A beautiful 22-point sunstar with a little flare
Of all lens qualities, a good sunstar is probably the hardest to achieve. It depends on the optical design, the number of aperture blades and the quality of the nanocoatings.
A sunstar looks beautiful when its whole body is clearly defined, with long, balanced rays that end in sharp points.
11 blades give 22 rays
The number of rays usually depends on the number of aperture blades:
- Even number of blades: the same number of points. A lens with 6 blades makes a 6-point star.
- Odd number of blades: twice as many points. The Sony 16-35 f2.8 GM II has 11 blades, so it makes a 22-point star.
I love 22 rays for landscapes. When a mountain partly covers the bright sun, 11 rays (half of 22) still show, and the effect is stunning. With a 6-point star in the same half-covered position, only 3 rays would show, which looks poor.
Second-generation nanocoating keeps flare small
Good nanocoatings suppress reflections on the surface of each lens element. This reduces flare and ghosting.
Sony first used its second-generation nanocoating on the Sony 12-24 f2.8 GM in 2020, with great success. That high-end lens produces the most beautiful, clean sunstar I have ever seen.
The 16-35 GM II benefits from the same technology to a lesser degree, since it costs less than its bigger brother. A few small flare spots still appear in my photos, but they are easy to remove in post-processing.
Tip: when you shoot straight into the sun, take off all filters so they don’t add more flare.


My sunstar ranking of the Sony lenses I have used
- Sony 12-24mm f/2.8 GM: simply the best sunstar, with virtually no flare.
- 16-35mm f2.8 GM II (this review): excellent sunstar with a few spots of flare.
- Sony 12-24mm f/4 G: good sunstar, but the rays are not sharp. At apertures larger than f/11, it makes a fan-shaped star.
- 16-35mm f2.8 GM: good sunstar with flare.
- 24-70mm GM II: good sunstar with some flare.
- 24-70mm GM: good sunstar with flare.
- 16-35mm f4: sunstar with skinny, overly long rays, and flare.

Distortion: low enough to leave uncorrected
Distortion is an optical error that makes straight lines look curved: inward like a barrel, outward like a pincushion, or in a complex wave like a moustache.
It is different from perspective distortion, where near things look larger and far things look smaller. Look up at a tall building and the top looks smaller than the base, because the base is closer to the camera. This converging effect is stronger at wider focal lengths, and it is not a lens error.
Zooms are optically far more complex than primes, so low-distortion zooms are harder to make. Seascapes and lakes need good distortion control to keep the horizon straight. In practice, though, I rarely get a strong photo with a bare horizon. Most of my photos have a background subject, such as a mountain range, which makes the composition more interesting.

The GM II shows less distortion than the GM
Shooting at different focal lengths, I found the distortion of the new GM II slightly better than the previous GM:
- 16mm: average distortion, most noticeable here.
- 20mm to 35mm: minimal distortion.
In my real photos I saw no distortion, so I did not correct it in any image in this review.
Below is a test shot of the horizon, before and after distortion correction in Adobe Photoshop.

Sharp from the centre to the corners
A lens must be sharp enough to show everything the sensor can record, measured in megapixels (MP). As sensors gain resolution, lenses must get sharper to keep up.
As a leading sensor maker, Sony set out to build lenses sharp enough for 100MP cameras or more. It spent 20 years developing XA (extreme aspherical) elements, the key to taking sharpness to a new level. The GM lenses followed, with superb sharpness and buttery smooth bokeh. The GM II line improves on them and is smaller and lighter still.
The 16-35 f2.8 GM II uses 3 XA elements (the previous GM used 2). This gives more even sharpness in a more compact design. It is one of the sharpest ultra-wide lenses money can buy from any brand, with exceptional sharpness from the centre to the corners.

See the details at 100% pixel
Click each area of the photo below to see it at 100% pixel. Make sure your browser is at 100% zoom: hold Control (Windows) or Command (Mac) and press + or – to reset it.
 |
 |
 |
 |
 |
 |
 |
 |
 |

Vignetting: invisible in real use
Vignetting is a gradual darkening from the edges of the frame towards the brighter centre. It is most visible at the largest aperture, f/2.8 on this Sony 16-35mm f/2.8 GM II.
- Astrophotography: I use f/2.8 to keep the ISO low and reduce noise. The night sky is completely dark, so vignetting is hard to see.
- Daylight landscapes: I mostly use f/11 to f/16, where vignetting is least visible.
So in practice you won’t notice vignetting with this lens unless you shoot an evenly white frame.

Vignetting at f2.8. The 2 upper left and right corners compared to the middle area do not see any difference in reality, but the light on the lower horizon affects the light and dark of the 2 corners of the image more, so the vignetting effect of the lens is not visible. even though there is.
In the photo below, the clouds at the top left and top right are quite even, and so is the snow at the bottom left and bottom right, compared with the middle.

Hamnøy sunrise 120s f/16 ISO 50 WB 6150K. Sony a7c II + Sony FE 16-35mm f/2.8 GM II @ 22mm. Lofoten, Norway, 2-2024
No visible chromatic aberration
Chromatic aberration (CA) is a lens error where colours don’t focus at exactly the same point. It shows as colour fringes, most noticeable on high-contrast edges.
The Sony 16-35mm F2.8 GM II uses 1 Super ED and 2 ED elements to suppress it. Contrast and colour improve as a result, and the lens looks sharper because fine edge details stay clean and crisp.

Chromatic aberration, also known as purple fringing, is not visible at all, even in backlit conditions.
Superfast autofocus, ready for the future
Four new-generation XD motors give precise autofocus, twice as fast as the previous GM. On a high-performance camera like the Sony A1, continuous shooting reaches up to 30 fps. This is very useful for close-up sports photography and video.


Red cabin blue lagoon 120s f/11 ISO 50 WB 7500K. Sony a7c II + Sony FE 16-35mm f/2.8 GM II @ 35mm. Lofoten, Norway, 2-2024
My verdict after 2 months and 800 photos
Choosing which lens to bring on an important trip is a serious decision. A weak lens can mean regret long after you come home.
It happened to me years ago. I thought I had some great shots, then found they were technically unusable. Some had good light but were too soft. Others had a sunstar spoiled by heavy flare. That is a nightmare when you have spent a lot of money on a trip.
I spent 2 months with the Sony 16-35mm F2.8 GM II and took more than 800 photos in Lofoten, Norway, and Hokkaido, Japan. This lens has grown on me. With the Sony A7C II, it came through some of the harshest weather and still gave me vibrant, sharp photos.
It is without doubt one of the best ultra-wide lenses available today. It also takes the 100mm rectangular filter system, which makes it ideal for landscapes.
Pros
- Size and weight: much smaller and lighter than the previous Sony 16-35 f/2.8 GM.
- Flare control: excellent, second only to the Sony 12-24 f/2.8 GM.
- Sunstar: a beautiful, well-defined 22-point star with only a few flare spots, easy to remove in post-processing.
- Distortion: below average and lower than the previous GM. For landscapes it usually needs no correction.
- Chromatic aberration: no visible CA or purple fringing.
- Sharpness: excellent from the centre to the corners, although the corners are not quite as excellent as the centre.
- Night sky: f/2.8 is convenient for star trails, and 16mm is useful when the Milky Way stands upright.
- Filters: takes the standard 100mm rectangular filter system.
- Autofocus: superfast, supports up to 30 fps.
Room to improve
- A few flare spots remain when you shoot into the sun. It would be great if Sony removed them completely, as on the 12-24mm f/2.8 GM. For now, they are small and easy to remove in post-processing.
More photos from Lofoten and Hokkaido


Sony a7c II + Sony FE 16-35mm f/2.8 GM II @ 35mm. Hokkaido Japan 2-2024
Your next step
If you are planning a seascape or night-sky trip, take the 16-35mm GM II out at sunrise or sunset and shoot into the sun at f/11 to f/16, the apertures I use for daylight landscapes, with no filters on. Check the sunstar and the corners at 100% pixel. If you shoot with a mountain partly covering the sun, you’ll see the 11 rays I love.
This article is for general education and is provided "as is". Photography outdoors carries risk: you are responsible for your own safety, gear and decisions. Disclaimer
Fine art prints
Signed, made to order on archival fine art paper, with the facts behind every photograph.
See the prints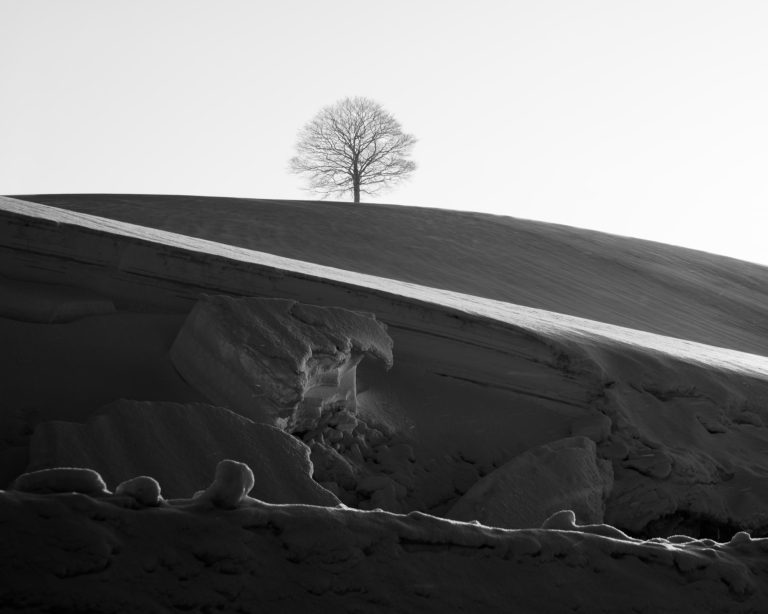
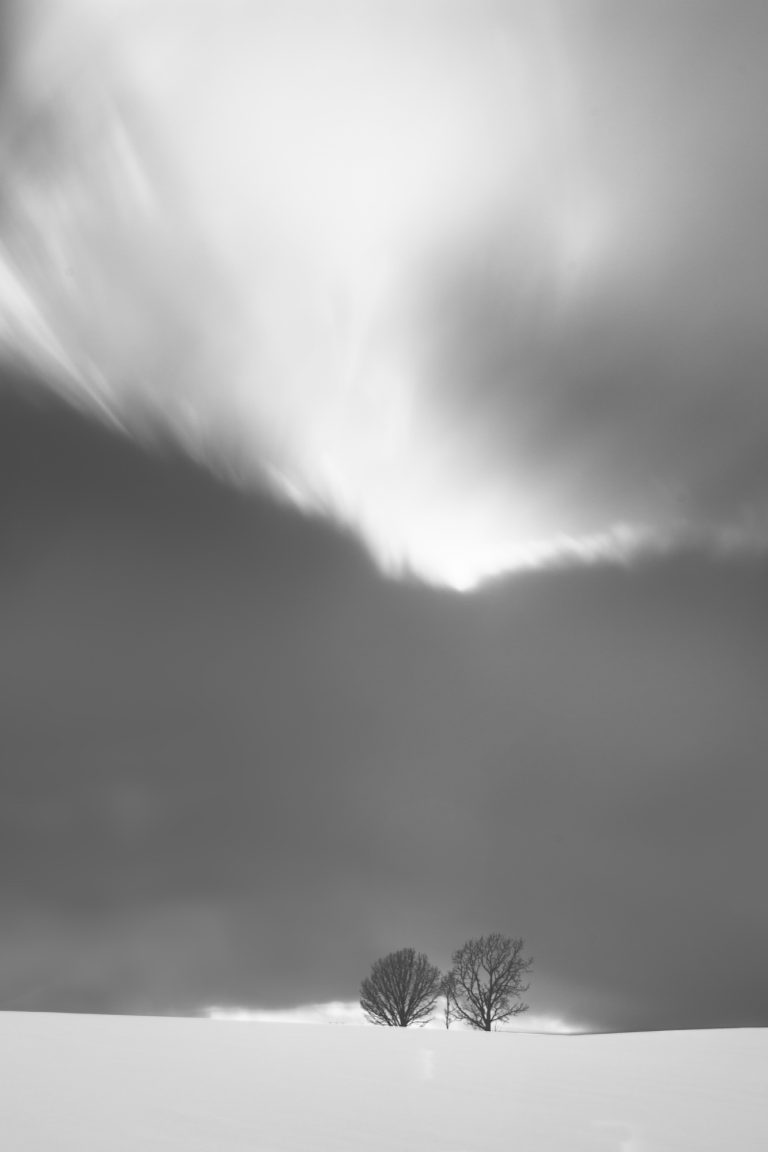
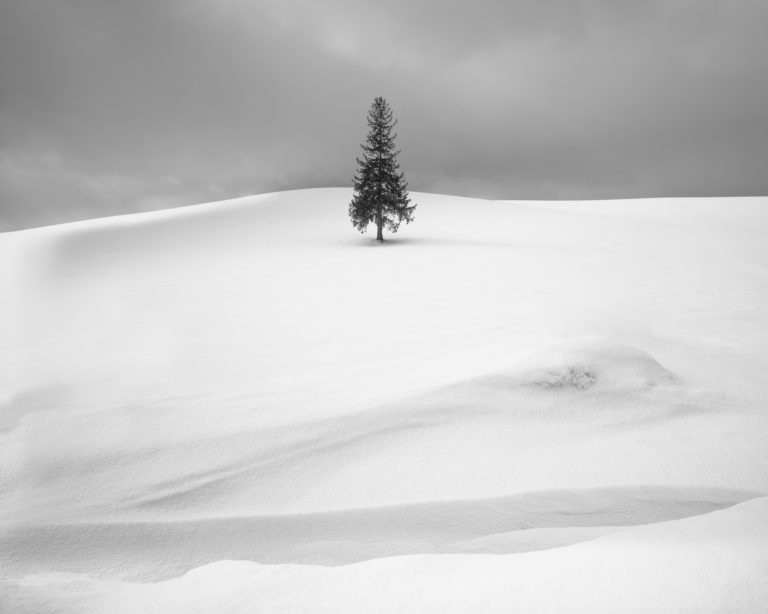
Photo trips with Andre
Small groups to Lofoten, Iceland and Vietnam, at the right season and the right hour.
Ask about the next trips