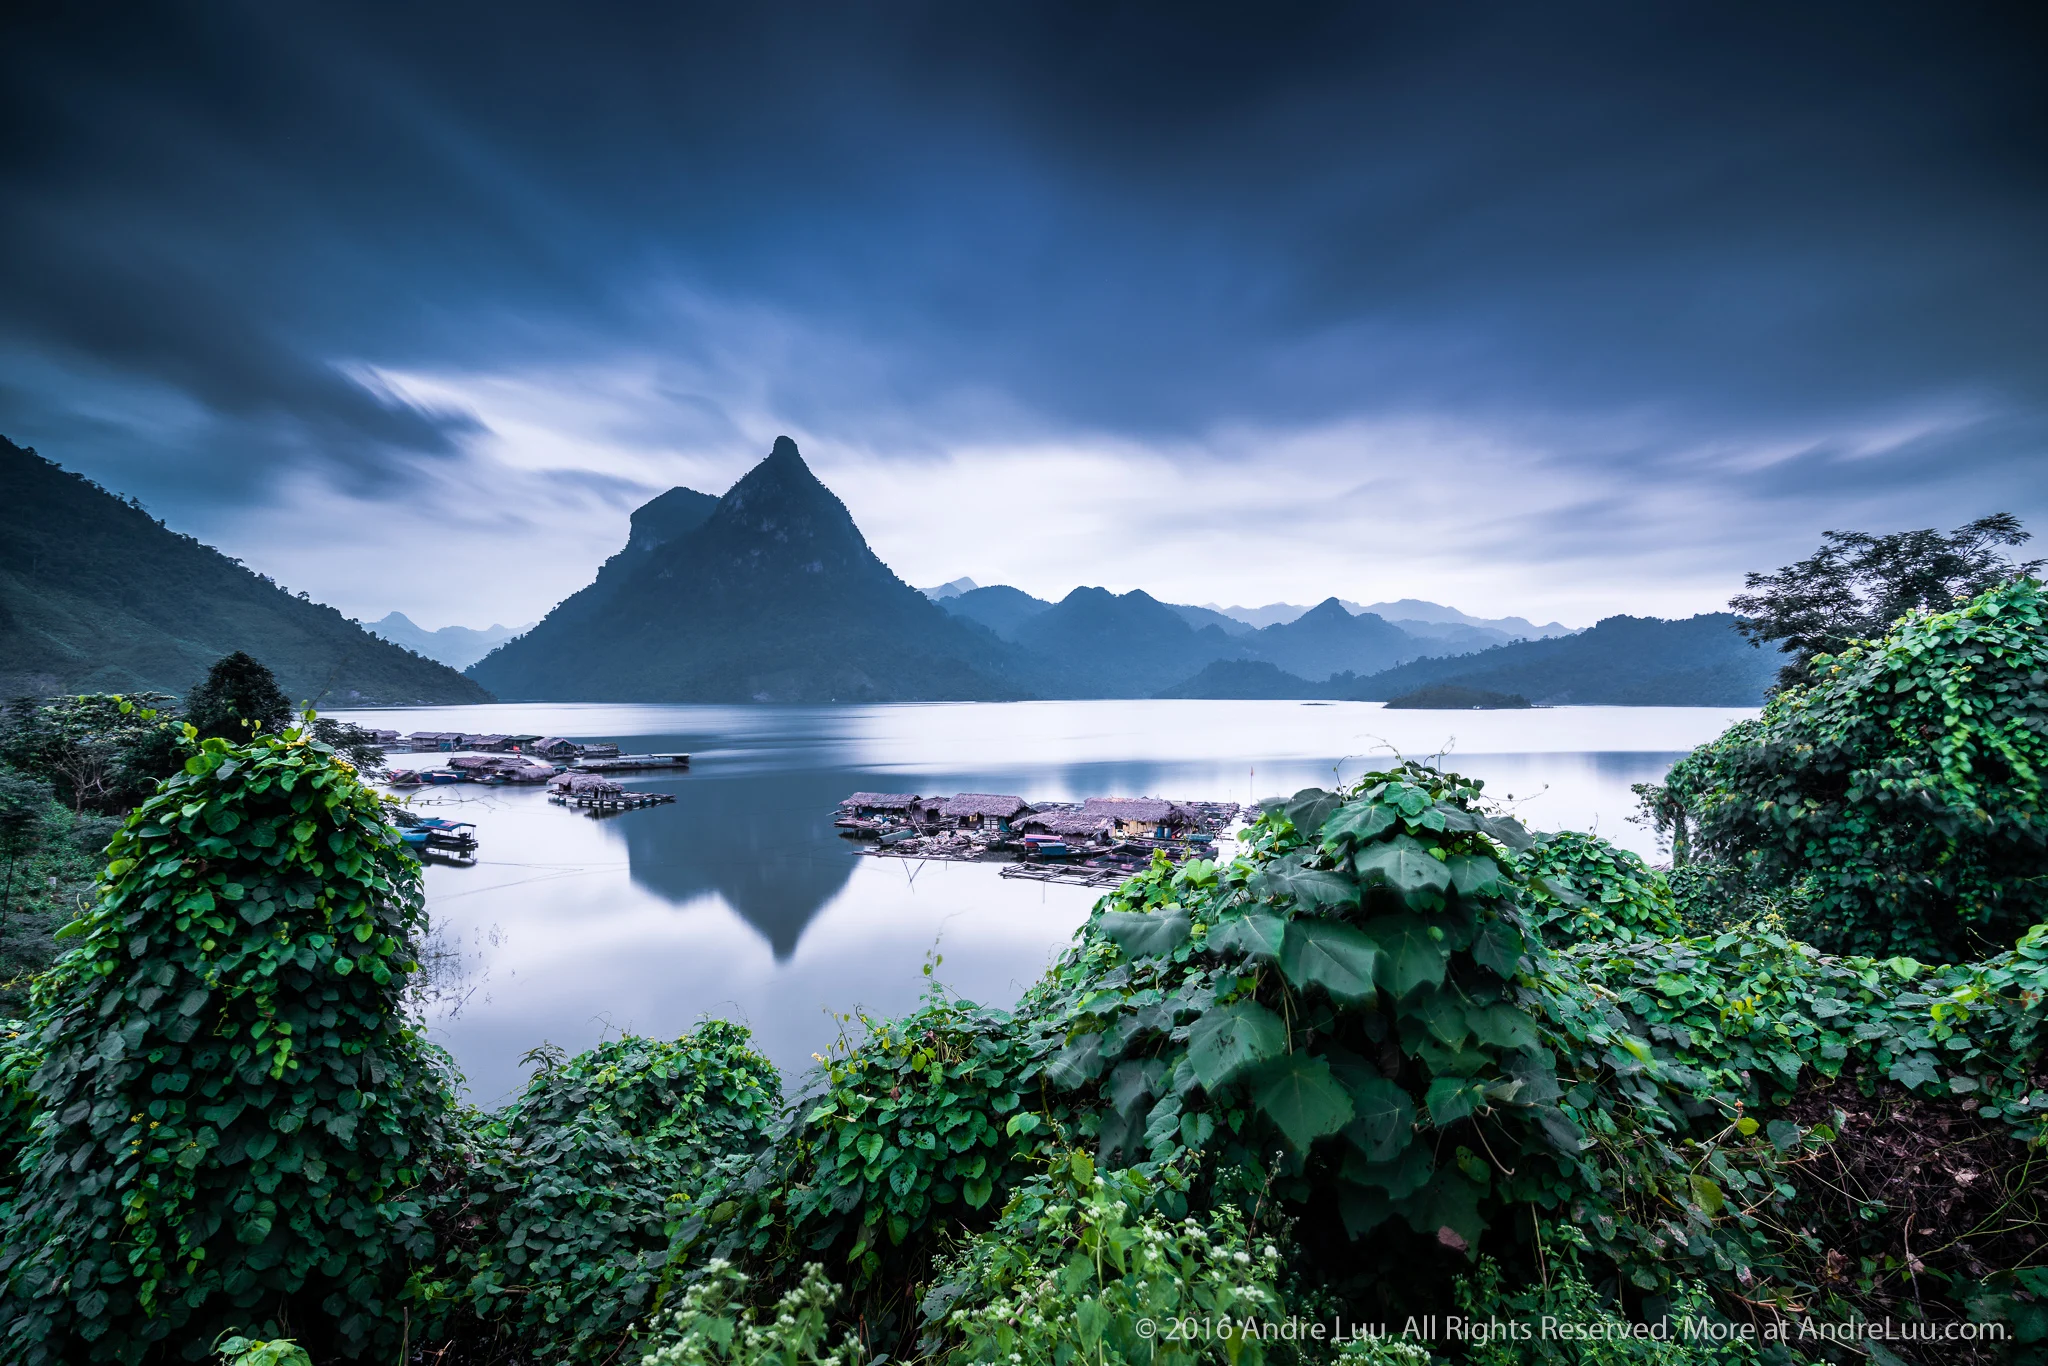
Composition part 4: basic ratios – the golden ratio
- Technique: Long exposure
- Place: Tuyen Quang
- Lens: Sony FE 16-35 f4
Further reading
- Composition part 1: the photographer’s “8 brushes” (in Vietnamese)
- Composition part 2: the subject and 7 standards of beauty (in Vietnamese)
- Composition part 3: the foreground – 13 leading lines and 5 criteria for appeal (in Vietnamese)
- Composition part 5: the 1/2 ratio – symmetry and balance
About the golden ratio
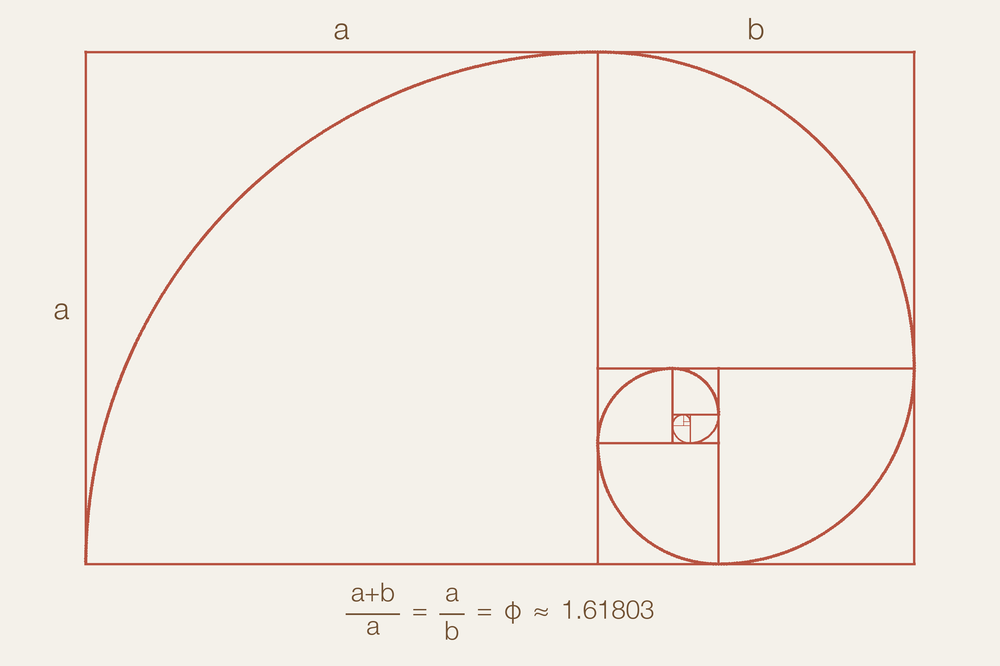
The golden ratio is a mathematical ratio taken from nature that has been used since ancient times in architecture and fine art to “imitate” the beauty of nature. Landscape photography is also a fine art; therefore, the golden ratio works very well for arranging the elements of a composition.
From my own practical experience, however, the golden ratio only works well for simple compositions or fairly simple ones, where the element you align with the golden ratio is the subject or a simple, separate point of interest that isn’t dominated by other elements in the photo, such as leading lines or secondary elements that can’t be cropped out of the frame.
Complex compositions have to be aligned another way: the overall geometry of the most prominent element has to be identified, and the geometry of the secondary details, taken together, decides how they will be aligned (I’ll cover this topic in a future composition guide). Therefore, these complex compositions cannot simply be aligned to the golden ratio.
References:
- 15 Uncanny Examples of the Golden Ratio in Nature
- The Golden Ratio: Phi, 1.618 (see how the golden ratio is applied in many fields)
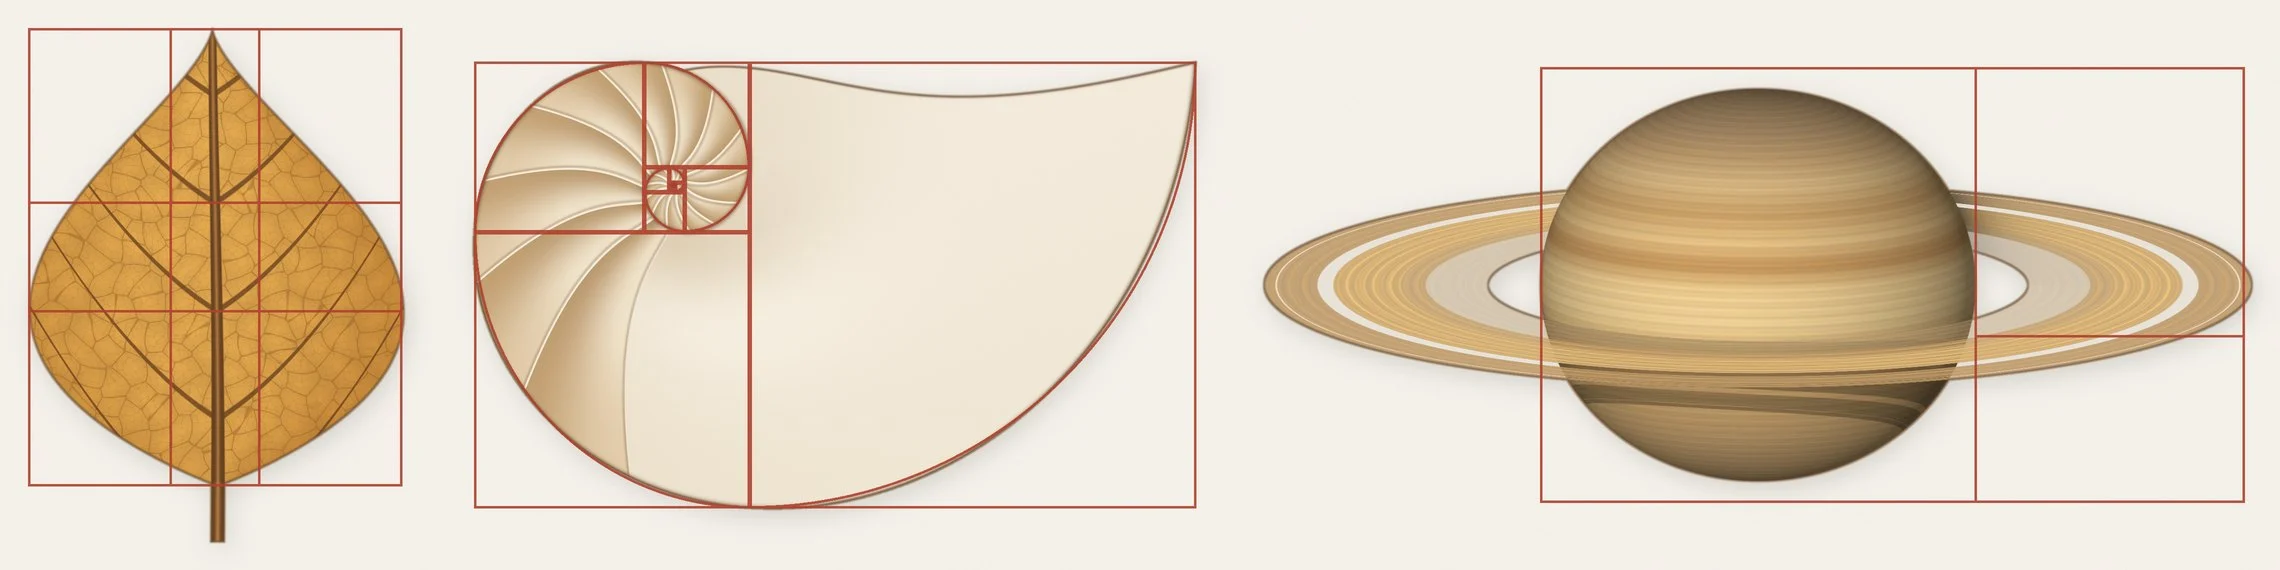
The golden ratio as it appears in nature.
How to apply it with a golden ratio grid

Aligning the subject or point of interest with the 4 golden ratio points
To use 1 of the 4 golden ratio points, your photo needs a simple composition with a separate subject or point of interest that isn’t dominated by other elements. Here are 4 examples:
Top left point

Top right point

Bottom left point

Bottom right point

Aligning the subject or point of interest with the 4 golden ratio lines
Likewise, to align with a line, the subject or point of interest has to be a long object with a separate or simply prominent shape that isn’t stuck to other elements or tied up with them in a way that dominates it.
Left vertical line

Right vertical line

Top horizontal line

Bottom horizontal line

Aligning the subject or point of interest with the golden spiral
Spiral curves are rarer in real natural landscapes than the other types; here is one example I’ve come across.

How to apply it by estimating the golden ratio
The golden ratio as shown above is very easy to apply when you process your images after shooting, because you have a grid to follow when you crop the composition. But if you want to apply it right on the LCD screen or the electronic viewfinder (EVF) while shooting, it won’t be that easy, because at the moment only some cameras have a golden ratio grid on the screen.
However, most cameras offer a rule of thirds grid in Live View mode, and sometimes in the electronic viewfinder (EVF) too.
To estimate the golden ratio from the rule of thirds, just align a little further inside the photo (toward the center) (see the image below: the red grid is the rule of thirds, the white one is the golden ratio). It will be hard at first, but after using it for a while you’ll get used to this method.
Another way is to just use the rule of thirds to compose while shooting, then crop afterward to the exact golden ratio.
If you want it even easier, you can also use the rule of thirds instead of the golden ratio, as most photography schools still teach. The benefit of the rule of thirds is that it’s very close to the golden ratio and very easy to remember and apply. My theory is that the rule of thirds in photography is the golden ratio simplified so that it is easy to remember.
The red grid is the rule of thirds, the white grid is the golden ratio

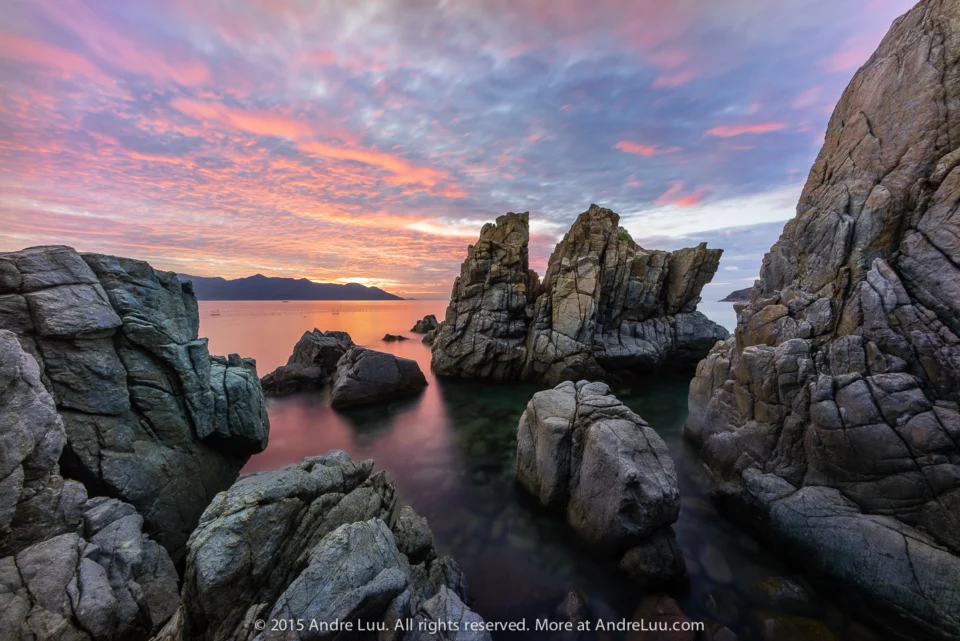
Settings for the cover photo
121s f/5.6 ISO 100 WB 5000K. Sony a7rII + Sony FE 16-35mm f4 @ 16mm.
Gear used for the cover photo
1. Filters: a 2-stop hard GND to balance the exposure of the sky and bring out the dark clouds. A 10-stop ND to allow a 2-minute long exposure, which smooths the water and makes the clouds drift and streak into long trails.
2. Tripod and remote, so that you can shoot without touching the camera, which would shake it and blur the photo’s detail.
Location
Na Hang Wharf, Tuyen Quang.
Further reading
This article is for general education and is provided "as is". Photography outdoors carries risk: you are responsible for your own safety, gear and decisions. Disclaimer
Fine art prints
Signed, made to order on archival fine art paper, with the facts behind every photograph.
See the prints
Photo trips with Andre
Small groups to Lofoten, Iceland and Vietnam, at the right season and the right hour.
Ask about the next trips