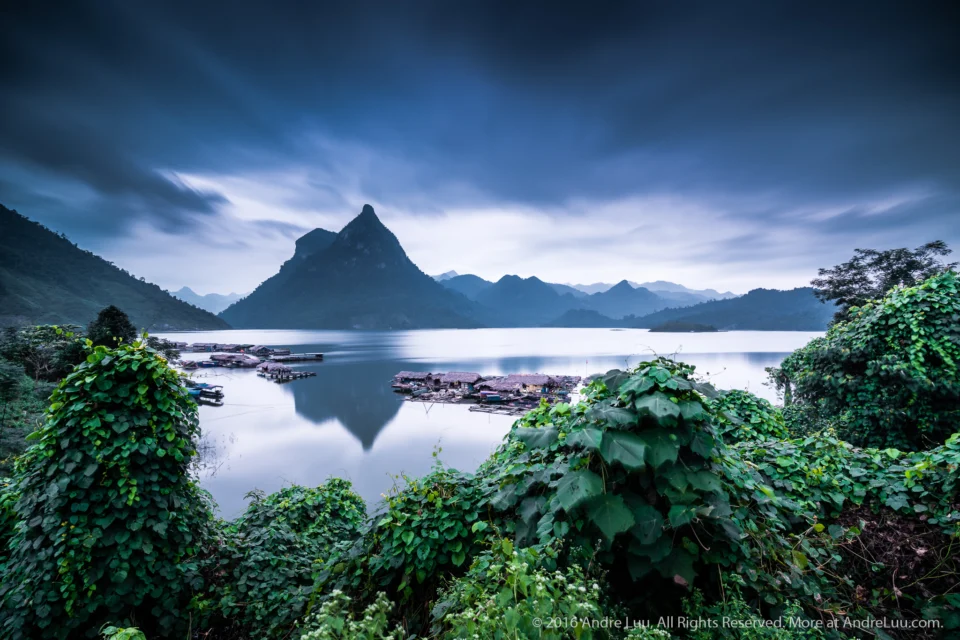
6. Long exposure photography part 1: without an ND filter
- Technique: Long exposure
- Place: Nha Trang
- Lens: Voigtlander 12v2 f5.6
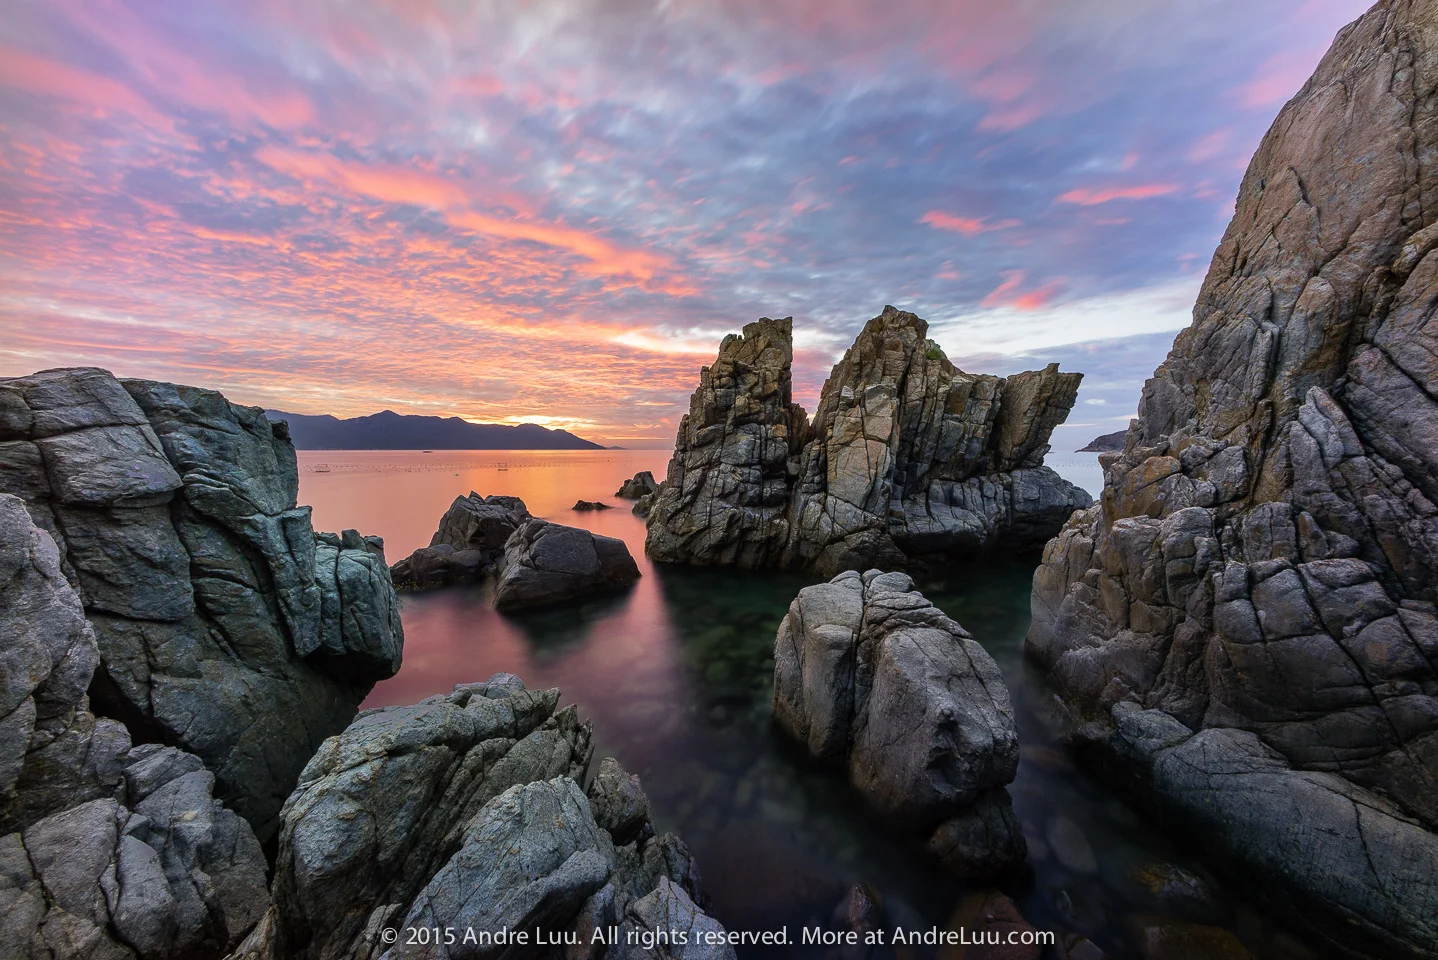
The creative effects of long exposure
Unlike a regular photo taken at a fast shutter speed, where every movement in the scene at that moment is “frozen”, long exposure lets those movements play out over a long time to create interesting effects. Here are the effects of long exposure:
- Removes ripples on the surface of ponds and lakes, creating mirror reflections that are clear and still.
- Makes the sea surface smooth like silk, and waves hitting the rocks soft and billowy like clouds.
- Makes pouring water, streams or waterfalls stretch into silky strands.
- Creates attractive long trails for prominent moving objects such as clouds, mist, car lights, debris moving on the water, etc.
- Erases unwanted objects that are moving, such as people and vehicles during the day.
While it is still dark, you don’t need an ND filter yet
About 45 minutes before sunrise, the first light of dawn begins to appear; this is when the sky is extremely beautiful and the light is very weak, allowing you to expose for as long as 2 minutes at the optimal aperture and ISO without needing an ND filter. This timing applies near the equator. The farther you are from the equator, the longer dawn lasts and the more it changes with the season, so check the dawn (civil twilight) time for your location and date.
Similarly, after the sun has set below the horizon, the sky often glows again, just as beautiful as while the sun is setting; at that time the light is also very weak and also allows you to shoot long exposures without needing an ND filter.
How to calculate the optimal exposure while it is still dark
In dark conditions like this, to meter and work out the correct, optimal exposure, you need to follow these steps:
Step 1: Switch to A/Av mode (aperture priority)
Switch to A/Av mode so the camera can meter automatically. Note that in the camera’s metering settings, you should use a default metering mode such as full-scene Matrix metering or Center Weighted, not Spot, because we need to meter the whole scene.
At this point, because it is still dark, the shutter speed at the optimal ISO (100 or 200) will be much longer than 30 s, so on Canon, Nikon and Sony cameras the shutter speed will blink at 30 s, signaling that there is not enough light. Some cameras that support in-camera exposures longer than 30 s will show the exact time, for example the Panasonic GX7 mirrorless camera.
Note: If you have a Grad ND filter (the half-light, half-dark type), now is the time to attach the Grad ND and align it to the right position on the sky that needs balancing. The Grad ND will not interfere with the camera’s automatic metering, and the camera will include the balancing of this filter in its calculation.
Step 2: Raise the ISO to 6400
Because on most cameras the shutter speed in A/Av mode is limited to 30 s, the shutter speed must be under 30 s for the light to be metered. So you raise the ISO (from the default 100 or 200) to ISO 6400 to do this.
For example, you set f/8 and raise the ISO 6 stops from 100 to 6400; the shutter speed will stop blinking and show 1 s, and that is the shutter speed your camera measured for ISO 6400, f/8.
If you don’t raise the ISO, there is no way the camera can meter, except for some special cameras with shutter speeds in A mode of up to several minutes, such as the Panasonic GX7. Of course you can raise it to a lower or higher ISO; to keep this guide simple, I use ISO 6400.
Step 3: Take test shots to find the optimal exposure
After noting down the shutter speed the camera just read (e.g. 1 s f/8 ISO 6400), switch to M mode, set those same settings again and start taking test shots. After shooting, check the histogram to see whether it touches the right side yet (or is at the optimal level yet); if not, increase or decrease the shutter speed and shoot again until the histogram is optimal.
The reason I use the histogram rather than the camera’s automatic metering result is that the light meter is not accurate, especially in weak light conditions like this. But I still need to meter to get starting settings, which saves time groping for the optimal settings, because the metered settings are not very far from the optimal ones, so after 1 or 2 test shots and adjustments you will reach the optimal exposure (at ISO 6400).
See also: 4. How to optimize exposure with the histogram
For example, after adjusting, your optimal exposure has a shutter speed of 2 s (at f8 ISO 6400).
Step 4: The real shot – lower the ISO and compensate with shutter speed
At this point you have the optimal exposure but not yet at the optimal ISO (ISO 6400), so you need to lower the ISO to the optimal ISO (100 or 200). E.g. lowering the ISO from ISO 6400 to 100 means you lower it by 6 stops.
As shared in the guide 3. How to increase or decrease exposure with shutter speed, aperture and ISO, each ISO/2 (divided by 2) is 1 stop, as follows:
Lower the ISO to the optimal ISO
Starting from ISO 6400
6400/2 = 3200 = 1 stop
3200/2 = 1600 = 2 stops
1600/2 = 800 = 3 stops
800/2 = 400 = 4 stops
400/2 = 200 = 5 stops
200/2 = 100 = 6 stops
So after you go down from ISO 6400 to ISO 100, you reduce the exposure by 6 stops, and at the shutter speed above of 2 s (2 s f/8 ISO 100) your photo will be underexposed by 6 stops. So I need to make up those 6 stops by increasing the time by 6 stops.
Also following the calculation in the guide 3. How to increase or decrease exposure with shutter speed, aperture and ISO, to increase the shutter speed by each 1 stop, the shutter speed x 2, as follows:
Raise the light with shutter speed to compensate for the lowered ISO
Starting from 2 s.
2 x 2 = 4 = 1 stop
4 x 2 = 8 = 2 stops
8 x 2 = 16 = 3 stops (round 16 to 15, following the camera’s own calculation)
15 x 2 = 30 = 4 stops
30 x 2 = 60 = 5 stops
60 x 2 = 120 = 6 stops (120 s is 2 minutes)
So the shutter speed for the optimal exposure at the optimal ISO is 120 s (2 minutes) f/8 ISO 100
Step 5: Compensate for the changing light
Sunrise: The closer it is to the time when the sky is still dark, the more it brightens, because in the 2 minutes of your long exposure the light in the sky will change, brighter by 1 stop to 1/2 stop. So you need to adjust beforehand by subtracting exposure for that brightening so the exposure stays correct and optimal.
This is a difficult step and requires experience in compensating depending on the state of the light in the sky, but understanding this theory helps you compensate closer to the optimum and limits overexposure when the long exposure time ends.
E.g.: Subtract 3/4 stop with shutter speed, meaning shorten the time by 3/4 stop.
1 stop of 120 s = 120/2 = 60 s
so 3/4 stop = 60 x 3/4 = 45 s.
After subtracting 3/4 stop, the compensated optimal exposure is:
120 – 45 = 75 s (1:15 min)
So the settings to shoot are: 75 s (1:15 min) f/8 ISO 100.
Sunset: Similar to sunrise but the other way around: after the sun sets, the closer it gets to dark, the more it darkens, because in the 2 minutes of your long exposure the light in the sky will change, darker by 2 stops to 1/2 stop. So you need to adjust beforehand by adding exposure for that darkening so the exposure stays correct and optimal.
E.g.: Add 1/2 stop with shutter speed, meaning lengthen the time by 1/2 stop.
1 stop of 120 s = 120 x 2 – 120 = 120 s
so 1/2 stop = 120 x 1/2 = 60 s.
After subtracting 1/2 stop, the compensated optimal exposure is:
120 + 60 = 180 s (3:00 min)
So the settings to shoot are: 180 s (3:00 min) f/8 ISO 100.
Step 6: How to shoot longer than 30 s with B (bulb) mode
You need to switch to B (BULB) mode to be able to use a remote to shoot longer than the 30 s available in the camera.
A mechanical remote has a HOLD button that keeps the camera shooting until you return it to its original position. With this remote you have to watch the clock yourself (older Nikon, Sony) or watch the seconds counting on the camera (newer Canon, Nikon and Sony) and then end the shot yourself.
- Nikon and Sony: Turn the shutter speed dial past 30 s and you will find B or BULB.
- Canon: Turn the mode dial to B or BULB.
A timer remote lets you program the exact time needed and automatically ends the shot once the time is up.
Step 7: Check, adjust and shoot again
After each shot you must check the histogram and readjust the shutter speed, compensating for the brightening and darkening so the exposure is as optimal as possible. Once you have mastered this technique, you can also bring aperture and ISO into the compensation calculation for convenience.
Photos from the same series as the sky gradually brightens


This article is for general education and is provided "as is". Photography outdoors carries risk: you are responsible for your own safety, gear and decisions. Disclaimer
Fine art prints
Signed, made to order on archival fine art paper, with the facts behind every photograph.
See the prints
Photo trips with Andre
Small groups to Lofoten, Iceland and Vietnam, at the right season and the right hour.
Ask about the next trips