3. How to increase or decrease exposure with shutter speed, aperture and ISO
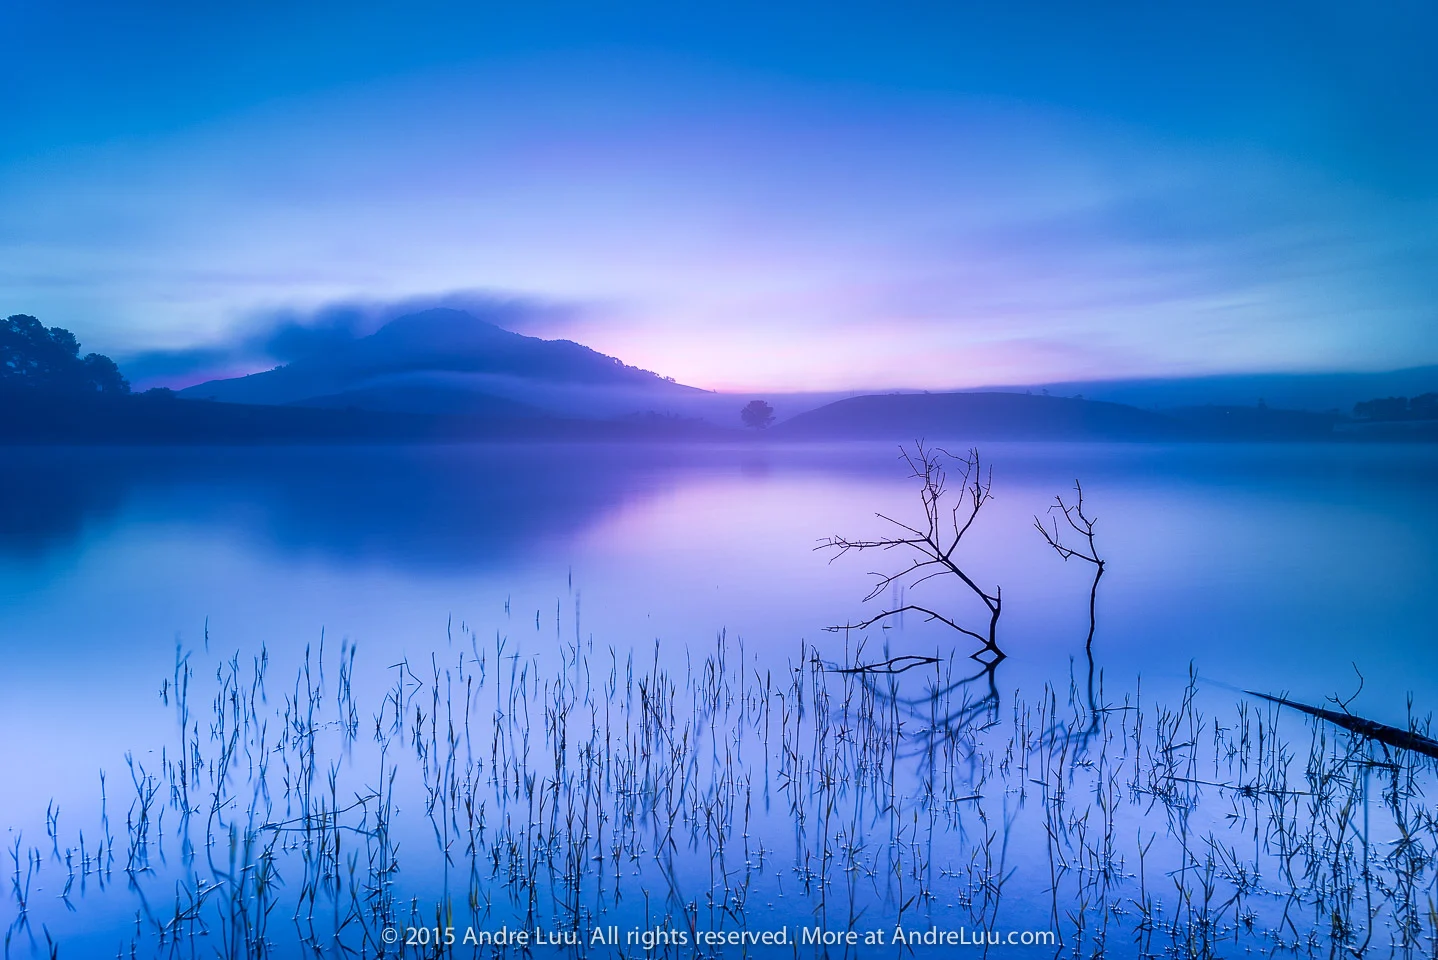
- Technique: Mist and fog
- Place: Da Lat
- Lens: Voigtlander 21 f1.8
This guide is for those of you just starting out in photography. F-stop, or stop, is the unit used to measure light in photography. There are 3 different ways to increase or decrease exposure to reach the optimal exposure.
Shutter speed
In landscape photography, most of the time you want the aperture and ISO close to optimal to keep the highest image file quality, so shutter speed is the first factor you should change.
Shutter speed x 2 = increase by 1 stop
Shutter speed ÷ 2 = decrease by 1 stop
Example 1: Your current shutter speed, as read by the camera, is 1/60 s.
Increase 1 stop = 1/60 x 2 = 1/30 s.
Increase 2 stops = 1/60 x 2 = 1/30 s x 2 = 1/15 s.
Decrease 1 stop = 1/60 ÷ 2 = 1/120, which the camera rounds to 1/125 s.
Decrease 2 stops = 1/60 ÷ 2 = 1/120, which the camera rounds to 1/125 s ÷ 2 = 1/250 s.
Example 2: The current shutter speed at sunrise or sunset is 2 s.
Increase 1 stop = 2 x 2 = 4 s.
Increase 2 stops = 2 x 2 = 4 s x 2 = 8 s.
Decrease 1 stop = 2 ÷ 2 = 1 s.
Decrease 2 stops = 2 ÷ 2 = 1 s ÷ 2 = 0.5 s.
Keep multiplying or dividing the shutter speed to find the number of stops you need to increase or decrease, such as 3, 4, 5 stops…etc.
Example 3: You use a 6-stop ND filter (reduces the light by 6 stops), so we have to compensate for those 6 stops to keep the original exposure (for example, 2 s). So we have to increase the time by 6 stops as follows:
2 s x 2 = 4 s (1 time = 1 stop)
4 s x 2 = 8 s (2 times = 2 stops)
8 s x 2 = 16 s (adjusted to 15 to match the camera) (3 times = 3 stops)
15 s x 2 = 30 s (4 times = 4 stops)
30 s x 2 = 60 s (5 times = 5 stops)
60 s x 2 = 120 s (6 times = 6 stops)
So after compensating/increasing by 6 stops, 2 s becomes 120 s (2 minutes).
To shoot longer than 30 s:
- Nikon and Sony: turn the shutter speed dial past 30 s to B or Bulb, then use a remote release cable to shoot and lock it, or use a timer, up to 120 s (2 minutes).
- Canon: turn the shooting mode dial to B (Bulb), then use a remote release cable to shoot and lock it, or use a timer, up to 120 s (2 minutes).
Tip to remember:
- Increasing stops makes the light brighter, adding more light, so the exposure time has to be longer. In Ex. 1, 1/30 s is longer than 1/60 s; in Ex. 2, 4 s is longer than 2 s.
- Decreasing stops makes the light darker, with less light, so the exposure time has to be faster. In Ex. 1, 1/125 s is faster than 1/60 s; in Ex. 2, 1 s is faster than 2 s.
Aperture
Aperture is how large or small the opening of the aperture ring in your camera’s lens is. The aperture is shown as an f-number, written on the lens or on your camera’s LCD screen.
The smaller the f-number, the larger the aperture (opening), letting in more light; conversely, the larger the f-number, the smaller the aperture, letting in less light. That is why people new to photography often confuse the aperture with the f-number of the aperture. Below is a table of f-numbers spaced 1 stop, 1/2 stop and 1/3 stop apart.
To decrease by 1 Stop:
- In the 1 Stop column, move down 1 f-number position to the next one, since each step is 1 stop.
- In the 1/3 Stop column, move down 3 f-number positions, since each step is 1/3 stop.
- In the 1/2 Stop column, move down 2 f-number positions, since each step is 1/2 stop.
To increase by 1 Stop:
- In the 1 Stop column, move up 1 f-number position to the next one, since each step is 1 stop.
- In the 1/3 Stop column, move up 3 f-number positions, since each step is 1/3 stop.
- In the 1/2 Stop column, move up 2 f-number positions, since each step is 1/2 stop.
Example:
f/4 down to f/5.6 is a decrease of 1 Stop
f/4 up to f/2.8 is an increase of 1 Stop
f/6.3 down to f/9 is a decrease of 1 Stop
f/6.3 up to f/4.5 is an increase of 1 Stop
Note:
Most modern lenses let the camera control the aperture electronically from the body, so the aperture has to be adjusted on the camera with its control dials. Cameras currently on the market default to the 1/3-stop system for each dial click, and some professional cameras let you change this in the MENU to 1/2 Stop or 1 Stop. Old lenses, or lenses designed in the old style, let you turn the aperture ring directly on the lens.
| 1 Stop apart | 1/3 Stop apart | 1/2 Stop apart |
| f/1.0 | f/1.0 | f/1.0 |
| f/1.1 | f/1.2 | |
| 1.2 | ||
| f/1.4 | f/1.4 | f/1.4 |
| f/1.6 | f/1.7 | |
| f/1.8 | ||
| f/2 | f/2 | f/2 |
| f/2.2 | f/2.4 | |
| f/2.5 | ||
| f/2.8 | f/2.8 | f/2.8 |
| f/3.2 | f/3.3 | |
| f/3.5 | ||
| f/4 | f/4 | f/4 |
| f/4.5 | f/4.8 | |
| f/5.0 | ||
| f/5.6 | f/5.6 | f/5.6 |
| f/6.3 | f/6.7 | |
| f/7.1 | ||
| f/8 | f/8 | f/8 |
| f/9.0 | f/9.5 | |
| f/10.1 | ||
| f/11 | f/11 | f/11 |
| f/12.7 | f/13 | |
| f/14.3 | ||
| f/16 | f/16 | f/16 |
| f/18.0 | f/19 | |
| f/20.2 | ||
| f/22 | f/22 | f/22 |
| f/25.4 | f/27 | |
| f/28.5 | ||
| f/32 | f/32 | f/32 |
Note:
After f/10, the values after the decimal point are rounded by the camera, so the 1/3 step sometimes has the same value as the 1/2 step on the camera.
For example, at f/11 the next 1/3 step is 12.7, which the camera rounds to f/13, the same as f/13 in the 1/2-stop steps.
See also: 4. How to optimize exposure with the histogram.
ISO
ISO is the light sensitivity of the sensor, and the higher the ISO number, the stronger the sensitivity, so the camera sensor gives a brighter image for the same amount of incoming light, but at the same time image quality drops because noise increases.
Conversely, the lower the ISO number, the weaker the sensitivity, so the camera sensor gives a darker image for the same amount of incoming light, and at the same time image quality improves because there is less noise.
The default ISO for full-frame cameras is usually 100, and the lowest is usually 50.
The default ISO for crop cameras is usually 100, and the lowest is usually 100.
ISO x 2 = Increase by 1 Stop
ISO ÷ 2 = Decrease by 1 Stop
Example: Your ISO is at 200.
Increase 1 Stop = 200 x 2 = 400.
Increase 2 Stops = 200 x 2 = 400 x 2 = 800.
Decrease 1 Stop = 200 ÷ 2 = 100
Decrease 2 Stops = 200 ÷ 2 = 100 ÷ 2 = 50.
Keep multiplying or dividing the ISO to find the number of stops you need to increase or decrease, such as 3, 4, 5 stops…etc.
See also: 5. How to take noise-free photos
This article is for general education and is provided "as is". Photography outdoors carries risk: you are responsible for your own safety, gear and decisions. Disclaimer
Fine art prints
Signed, made to order on archival fine art paper, with the facts behind every photograph.
See the prints
Photo trips with Andre
Small groups to Lofoten, Iceland and Vietnam, at the right season and the right hour.
Ask about the next trips