1. Where to focus in landscape photography, and when
- Technique: Panorama
- Place: Da Lat
- Lens: Nikon 20 f1.8
Focus on the most important element in the frame
After setting up the composition, the next step is to analyze which detail in your frame is most important and needs to be made sharp, and which detail can be blurred without affecting the aesthetics of your photo. Then you rank them in order from most important to least important. The most important element, such as the subject, is the element where you set the focus distance.
Focus on the foreground – at the subject
When the foreground has beautiful details or shapes, you use it as the subject, the most important element in the photo, and focus right at that subject so it is the sharpest. If the subject is a large or long object, you focus on the most important point of that object, or focus right in the middle to balance the sharpness across the whole object (I usually use this method).
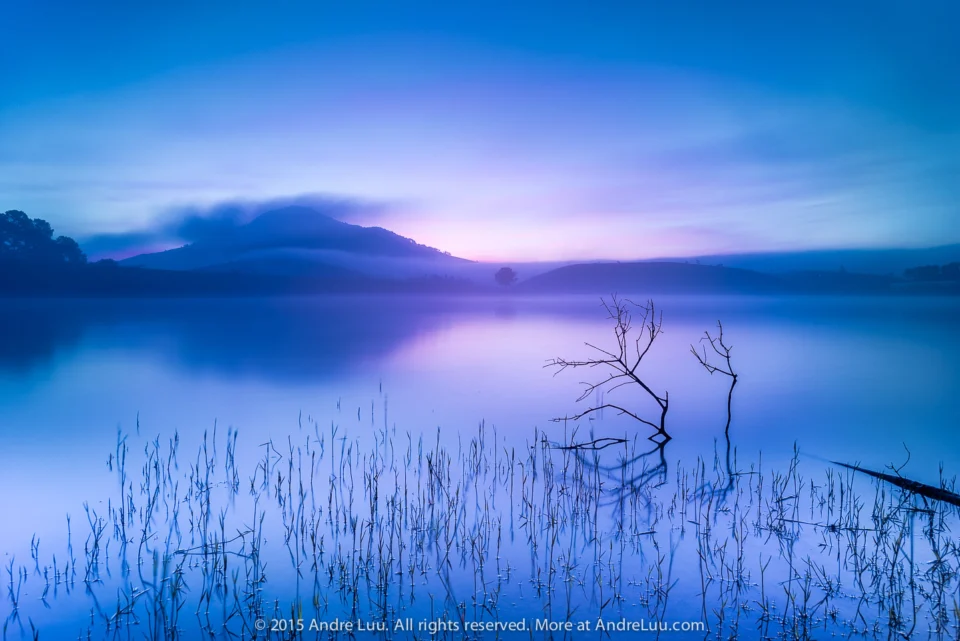
Example: Focus on the tree branch because it is the most important subject. The background has fog and is already blurred, so it doesn’t matter if it isn’t sharp.

Focus on the foreground – at the hyperfocal distance
When the foreground is not the subject but is still an important element, such as when the foreground is a leading line to the subject or creates a sense of near and far, you should focus on the foreground at the hyperfocal distance, following 2. Hyperfocal focusing in landscape photography: sharp from foreground to infinity, so the photo is sharp from the foreground (sharpest) to the subject and infinity (creating a deep DOF for sharpness with a small aperture/large f-number).
Example: Focus at a distance of 1.2 m (4 ft) measured from the camera’s sensor forward, where the patch of moss sits, and with f/8 at a 12mm focal length everything is sharp out to the fishtail rock and infinity.

Sony a7R + Voigtlander 12.
Focus on the middle ground – at the subject
When the subject is in the middle ground and the foreground is not important, such as having no interesting details that need to be made sharp, or you intend to subdue it so it acts as a backdrop that emphasizes the subject, then the foreground does not need to be sharp, so you focus directly on the middle ground.
Almost any time you focus on the middle ground, the closer the foreground is to you, the more it tends to be blurred, especially when using a large aperture (small f-number) or a long lens focal length.
Example: The rice in the foreground is not the subject and has no important details, so it can be blurred without affecting the aesthetics of the photo, so there is no need for hyperfocal focusing to make it sharp; instead, focus directly on the tree subject in the middle ground. The background also has no important details, so it is still fine without using hyperfocal focusing.

Focus on the background – at the subject or subject mass
The farther the focus distance and the closer to infinity, the more blurred the foreground gets the closer it is to your camera. Use this focus distance when the foreground has no important details or details that need to be made sharp. The subject is an object or a mass of objects far away, in the background.
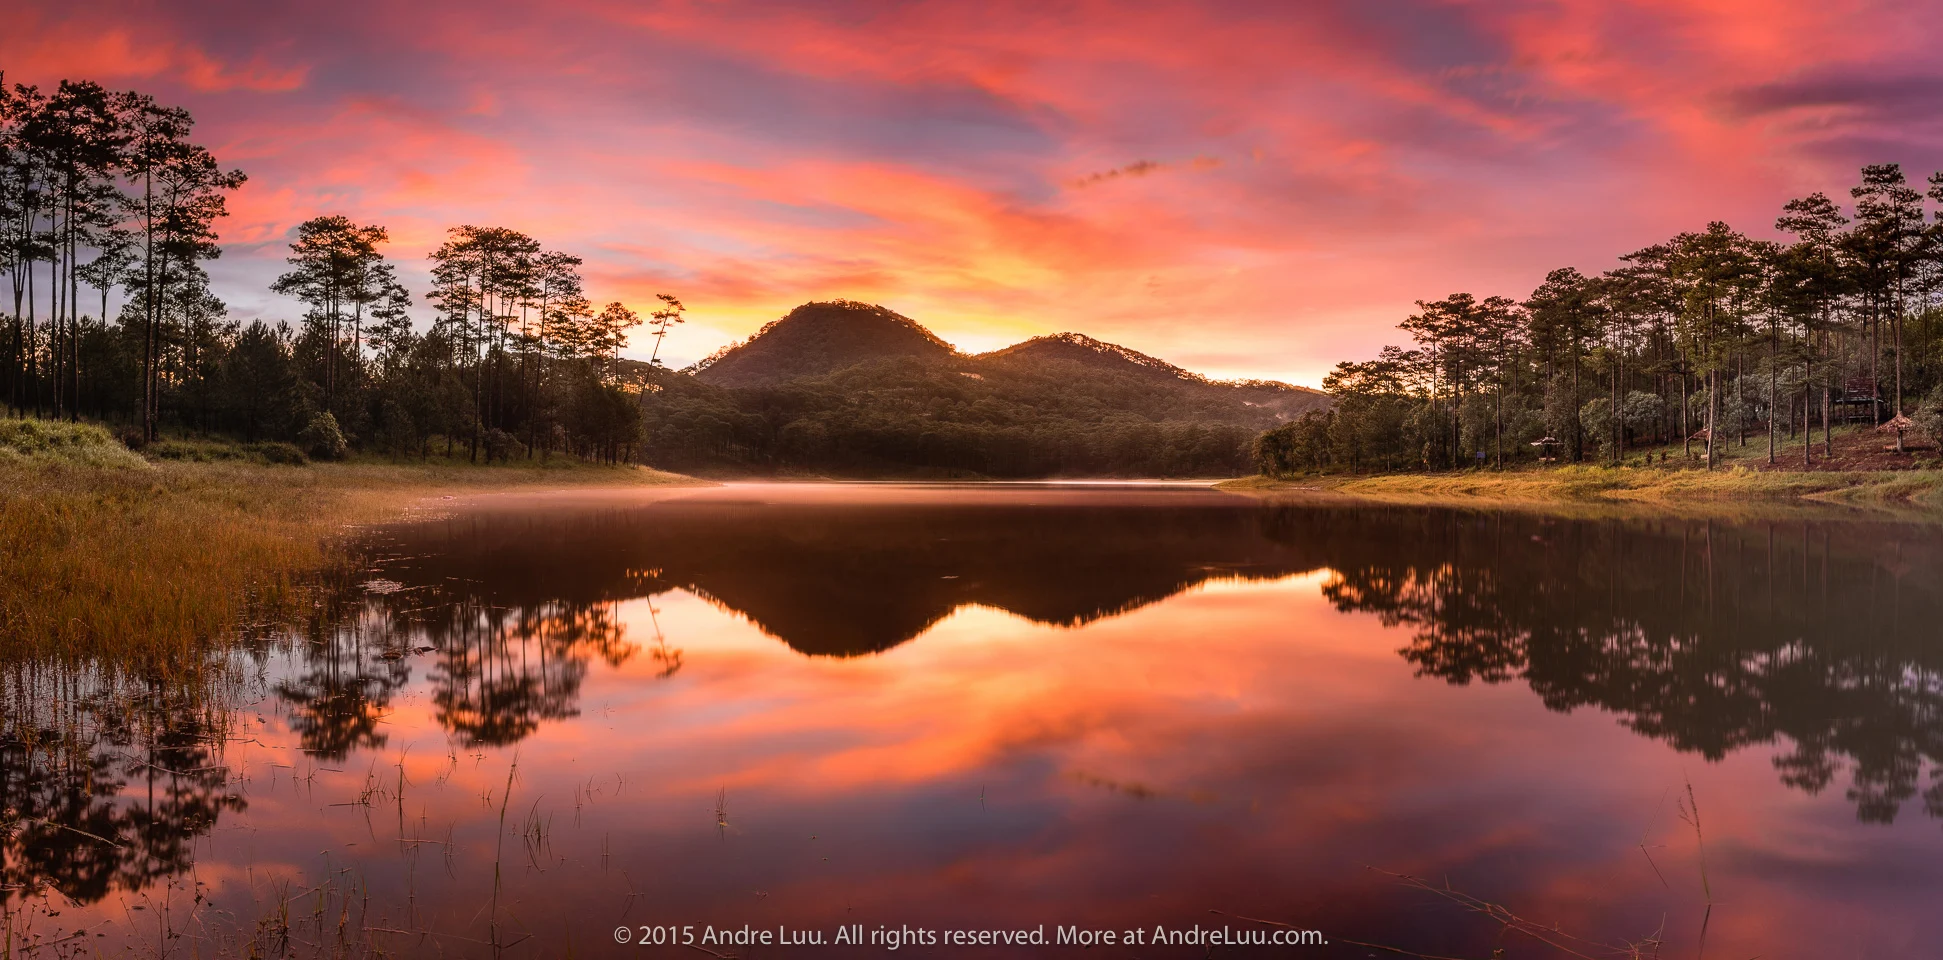
Example: In the cover photo, the subject is a mass – the row of trees and the mountain range in the background. The foreground is water with cloud reflections on it and small grass poking up out of the water. Neither of these 2 details needs to be made sharp, because the clouds are a mass, beautiful when soft and natural. The grass is too small, so it doesn’t matter if it is blurred.
What matters is that the subject mass is far away, so I focused on a branch in the row of trees on the left (the right would also work) because the row of trees has beautiful details, so it needs to be the sharpest.

Make the rest sharp with depth of field (DOF)
Apart from the point you focus on (the sharpest point in the photo), how blurred or sharp (relatively) the rest is depends on your choice of aperture. The smaller the aperture (larger f-number), the sharper everything is. However, you need to keep diffraction in mind because it will reduce the overall contrast and sharpness of the photo.
Depending on your camera’s resolution, here are the smallest apertures beyond which you should not stop down (larger f-number), to limit heavy diffraction and maintain image quality close to optimal for the photo.
| Camera resolution | Recommended aperture | Aperture to avoid * |
|---|---|---|
| 24mp or less (Canon 5D3/6D, Sony A7…) | f/5.6-f/16 | f/18-f/22 |
| 36mp (Nikon D800/810, Sony A7R) | f/5.6-f/14 | f/16-f/22 |
| 42mp (Sony a7R2) | f/5.6-f/11 | f/14-f/22 |
| 50MP (Canon 5DSR) | f/5.6-f/9 | f/10-f/22 |
| 61–67MP (Sony α7R VI 66.8MP) | f/5.6-f/8 | f/9-f/22 |
* Note:
There are some cases where a small aperture takes priority over maintaining image quality, such as when you need to create a sunstar and your lens needs to be stopped down further to be optimal (e.g., Canon 16-35 f4 is f/16).
Or when you need to shoot a very close close-up and need a deep, sharp depth of field, you also have to close down to a smaller aperture, because depth of field takes priority over image quality (e.g., shooting a cluster of flowers 30 cm (12 in) from the camera, so you have to close down to f/22 to keep the background sharp).
Focusing at infinity is often not optimal
There are many reasons you should not turn your lens to infinity when you need to focus on the distant background.
- The infinity point may not coincide with the distant subject detail in the background of the photo.
- The infinity mark printed on the lens is often inaccurate, so it makes the photo blurry.
AF or MF and the most accurate method
AF works well in good light and works poorly in low light, such as at sunrise and sunset. Moreover, AF on DSLR cameras needs to be calibrated for the lens and camera combination to achieve high accuracy.
MF is the best and most accurate focusing method in landscape photography. To focus accurately with MF, you must use Live View, magnify the point you need to focus on to the maximum, and turn the focus ring on the lens until the detail appears as sharp as possible.
Sony and other mirrorless cameras have MF focus assist functions with peaking and an EVF (electronic viewfinder) that are very effective.
If your camera doesn’t have an assist function, you should use a loupe with dark surrounding walls, placed over the Live View screen, to see a magnified and brighter view of the detail, which helps you focus more accurately.
Cover photo gear
1. Use a 3 stop reverse grad ND, 5 stop ND
The grad ND balances the bright sky area, bringing out detail in the clouds and the fog spread over the mountains. The 5 stop ND increases the exposure time so the water surface is smooth without ripples.
2. Tripod and Remote to shoot without touching the camera, so the camera doesn’t shake and blur the details of the photo.
Cover photo settings
Shutter speed 30 s, f/11, ISO 100, Custom White Balance 4700 K, focal length 20mm. Sony a7R + Nikon 20 f/1.8G lens with Metabones Nikon G-Nex adapter.
Focused directly on the row of trees on the left in the background. The photo was shot as 2 frames and merged into a Panorama in Lightroom 6.
Location
Tuyen Lam Lake, Da Lat city, Lam Dong Province.
Exposure
Use ISO 100, f/11 and A (aperture) mode to see what the camera’s automatic metering reads; if there isn’t enough light, temporarily raise the ISO to 6400 to calculate, note that shutter speed, then switch to M mode, set that shutter speed again, take a test shot, check the Histogram, and adjust the shutter speed until the Histogram just touches the right edge. Then start lowering the ISO back down to the original ISO, so you don’t have to wait long when taking test shots.
See also:
6. Long exposure part 1: no ND filter
4. How to optimize exposure with the histogram
Lightroom Classic post-processing
- Shoot Raw files, choose 14 bit and Adobe RGB for the maximum tonal range and color range.
- Adjust the light for each area using Linear Gradient and Brush in Masking (area selection tools) to limit it to only the area that needs processing.
- Adjust color using White Balance and Tint in Linear Gradient, and Brush for each area, to limit the effect to each area that needs it.
This article is for general education and is provided "as is". Photography outdoors carries risk: you are responsible for your own safety, gear and decisions. Disclaimer
Fine art prints
Signed, made to order on archival fine art paper, with the facts behind every photograph.
See the prints
Photo trips with Andre
Small groups to Lofoten, Iceland and Vietnam, at the right season and the right hour.
Ask about the next trips